

Digital Coloring Fun
Here is a tutorial on using Adobe Photoshop to create full color paper dolls, beginning with the scanned black and white art I drew by hand for these 1920’s style dolls. I drew a series of historically accurate paper dolls, ranging from Ancient Egyptian to 1970’s for my own coloring enjoyment,, and the paper doll .pdf files are also available for purchase and instant download.
Coloring with the computer can be even more fun than using paints, pens, and pencils. With millions of colors, textures, patterns and gradients, it’s a whole other art form.


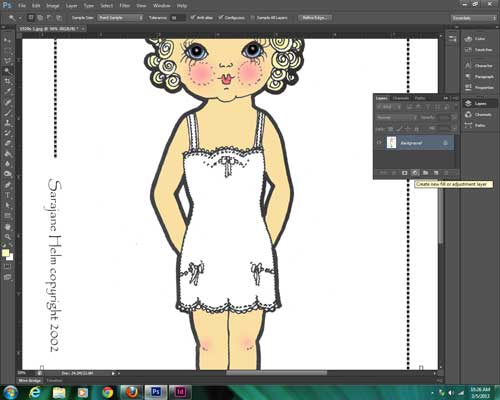
Groups are a way confine the things you do to just the parts that you want to be affected. To make it work though, you have to change the blending mode from “Pass Through” to “Normal”
If you don’t do this crucial step, the changes to the color of the slip will affect EVERY layer of the image.

The Blending Mode options are on the Layers Panel on the left, third row down, and the one that is showing is “Pass Through”. Click the little triangles to the right of it to open the menu for the other options, and click to select “Normal”.
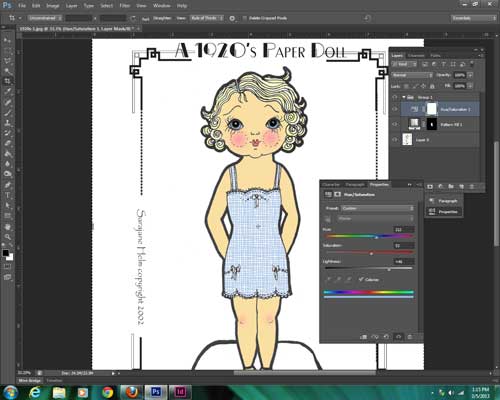
Go back to the layer Hue/Saturation 1 in Group one, and double click on the first symbol on the left to open the options menu. In the middle a small box that says “Colorize”.
Click it.
Then, play with the sliders to change values in Hue, Saturation and Luminosity. When you like what you’ve got, save your work again, this time as a.psd file with the layers included. Print it out and see what you think.
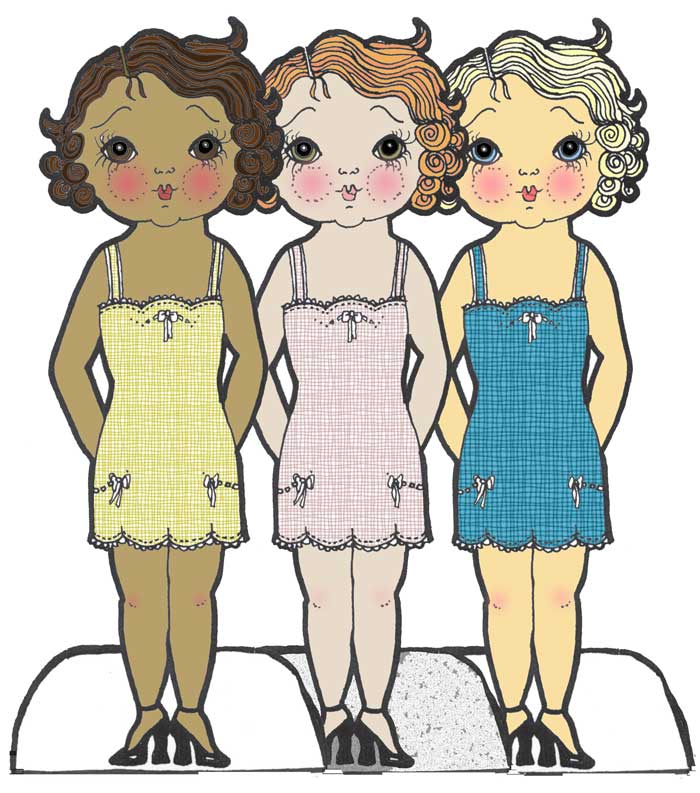
Come back, open your the .psd file and Save As Doll-Version-2, and you can change the various colors and patterns to make her a sister/friend–they can share clothes! Or, start over with the original file and do it again from the start making different choices. You can use these same techniques with images you draw and scan.
