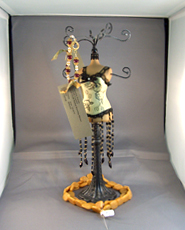
I just put up a tutorial page about using my digital camera, a portable studio box from Digital Concepts, and Adobe Photoshop. I use one of Melanie West’s miniature masks from the swap last year to illustrate the setup and the process of fixing images for better use.
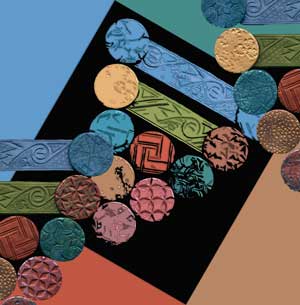
 This is the setup that I used to do photos throughout the book “Adapting Quilt Patterns To Polymer Clay” and also for photos on my webpages and in upcoming books.
I’ve been doing a lot of work lately taking photos for my own business endeavors including The Polyclay Gallery, and for other clientele locally. Practice and camera familiarity really do help to improve the skills involved and to get me more usable images. And having good lighting sure counts for a lot!
But truth be told, for me it is the Adobe Photoshop program that lets me really make the pictures look much better. No matter what I’m shooting–beads, dolls, jewelry or step-outs to show the process in a tutorial, it is all made better looking with Photoshop. Cropping, resizing, and image editing are only the tip of the iceburg when it comes to this powerful set of tools.
 The Adobe Photoshop Elements version contains everything most artist would need for use. Versions like CS2 or CS3 are more powerful by far, but contain much that may not be needed by the individual who just wants to document their work beautifully. Professional graphic artists of all sorts can enjoy a lot of potential in presenting their work if they have good digital images.
I really enjoy my digital camera, whether using it outdoors for the big wide world or indoors for beads, jewelry, masks, and how-to tutorials.
There’s a lot more to come; I’m working on several projects at once. Do take a peek at some of the photos on the links here!


